Burn DVDs & CDs with Free DVD Menus
Wondershare UniConverter's DVD tools allow you to burn videos to DVD, music to CD, DVDs to videos or DVD folders in just a few clicks.

Burn any video format to DVD with just one click.
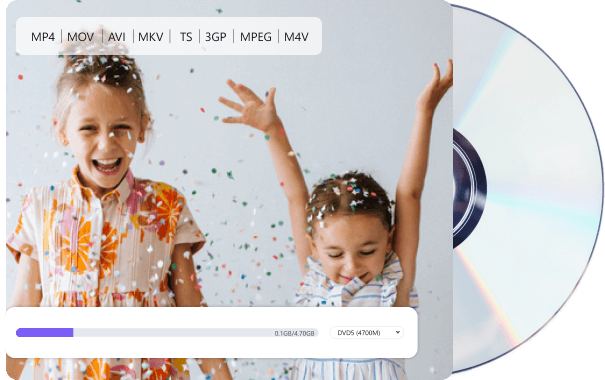
All the popular formats are supported (MP4, MOV, AVI, etc.) to burn to DVD.
Burn videos to ISO files or DVD folders on your local computer.
Burn DVDs for backup purposes.
Burn multiple DVDs simultaneously.
Copy DVDs to blank discs with one click on your Mac/PC.

Popular Web formats are all included.
Copy DVD to DVD, ISO, Video_TS, and more.
Create DVD main titles with chapters.
High-speed and accurate DVD writing.
Convert DVDs to any mainstream video format.

Convert DVD to MP4, MOV, AVI, and other popular video formats without losing quality.
Convert DVDs in less time with Intel CPU, Nvidia GPU, and AMD hardware acceleration technologies.
Burn music on CDs with original quality.

Burn music files in CDs to play in your car, walkman, and more.
Extract audio from CDs to MP3, AAC, M4A format, etc.
Extra DVD features to enhance your DVD experience.

DVD templates for your DVDs
35 free DVD menu templates for any need and audience. (Including themes about kids, weddings, holidays, and more.)

Customize DVD menu settings
Add stylish background images or your favorite music from your local hard drive. Edit the DVD title by adjusting its font, size, color, and other parameters.

Convert CDs to any audio format
UniConverter Version 13 enables you to quickly convert CDs to any digital audio format you want without any quality loss.