How to Burn Audio to CD
If you want to burn music to CD, Wondershare DVD Creator enables you to get the work done in easy clicks. The following guide will show you how to burn music to CD in detail.
How to Burn Audio to CD with Wondershare DVD Creator
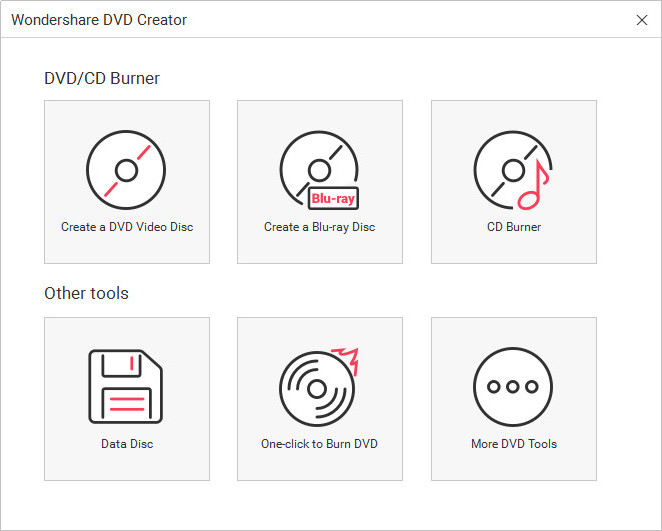
Step 1 Choose CD Burner
Start Wondershare DVD Creator after the installation, and start it. The program will display 6 modules in the main interface. Select CD Burner.
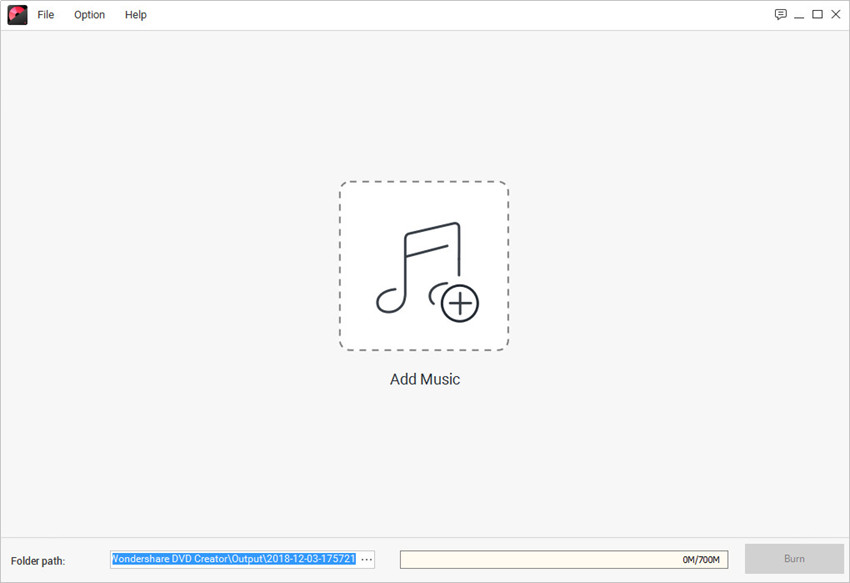
Step 2 Add Music from Your Computer
Now you’ll the homepage of CD Burner. Click Add Music in the middle and you’ll be able to add music files from your computer. You're also enabled to drag and drop the files into the program window directly.
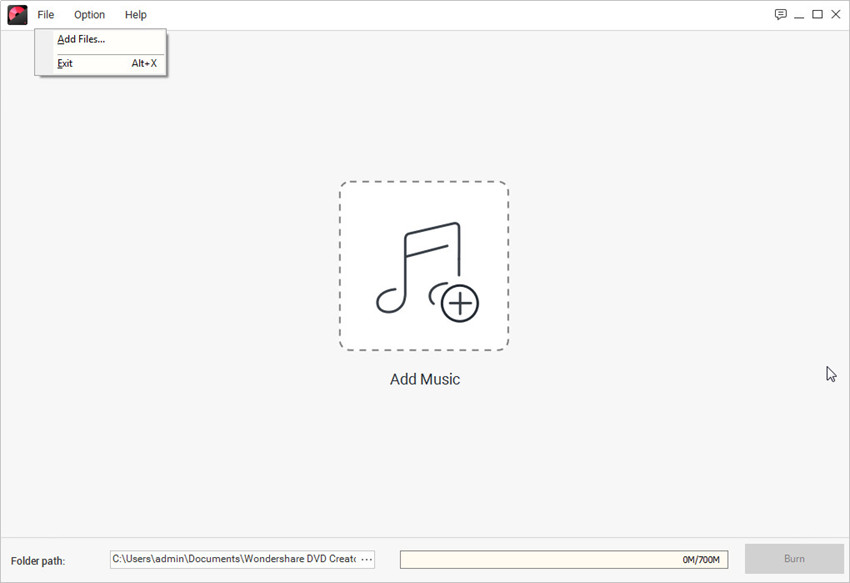
You can also click File > Add Files at the upper left corner to add music from your computer.
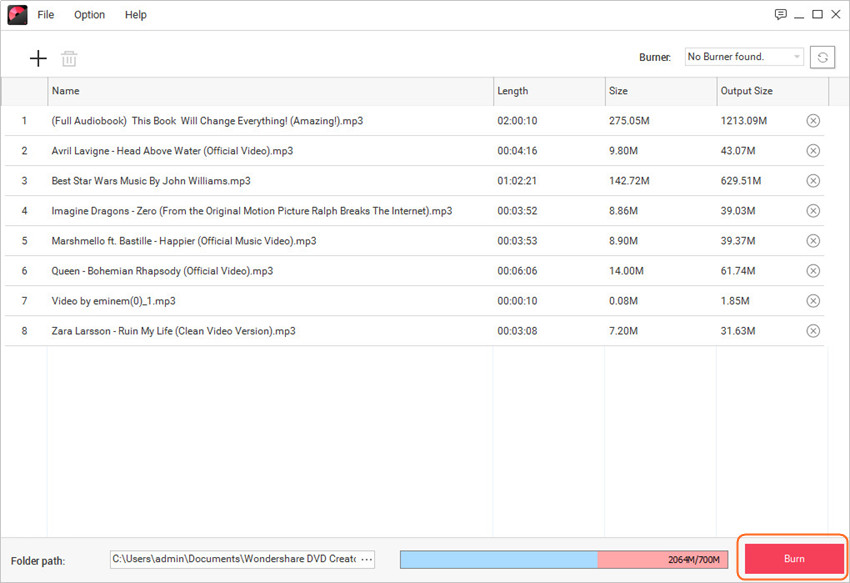
Step 3 Start Burning Music to CD
After adding the music files into the program window, you can arrange the order of the music files by dragging the music file to the place you want.
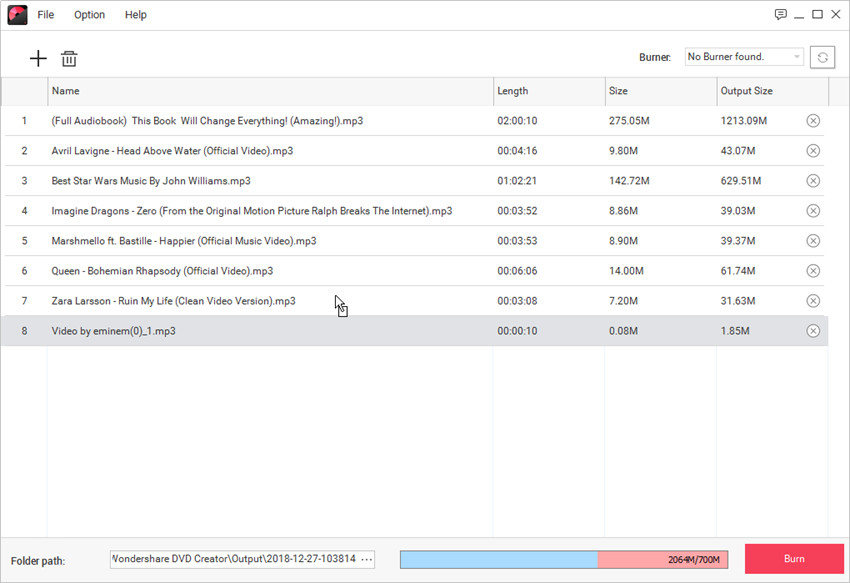
When you've finished organzing the music files, you only need to click the Burn button at the lower right bottom to start burning audio to CD disc.