

How to Convert 8mm/16mm Film to DVD in Mac/Windows (Windows 10 Included)

"What is the best way to transfer my 8mm films to DVD/Blu-ray disc/Digital media?"
Many people are seeking for the solution of how to convert 8mm to DVD or transfer 16mm films to DVD. 8mm and 16mm tapes were the most popular ways for us to record our family happy time, however, they are degrading over time and your video memories are in danger, they started to have noticeable degradation after just 5 years, so transfer 8mm/16mm film to DVD or other digital files become more and more important. Unlike a 8mm/16mm tape, DVDs don't have to be rewound and you can easily watch your favorite family memories over and over. And DVDs take up less space than 8mm/16mm tapes so you have plenty of room for more family video memories. There's no wonder why many people would love to have a copy of their 8mm/16mm tapes on DVD for easily view back anytime. To convert 8mm camcorder tapes to DVD with zero quality loss or burn to a playable DVD, here we recommend the best 8mm/16mm to DVD burner to help you.
Part 1. 8mm vs 16mm Film
1. What is 8mm camcorder film?
8mm camcorders use a small video cassette with a longer playing time and slightly better sound than VHS. The 8mm video format refers informally to three related videocassette formats for the NTSC and PAL/SECAM television systems. These are the original Video8 (analog) format and its improved successor Hi8 (both analog and digital), as well as a more recent digital format known as Digital8. However, with the development of technology, most video formats now are digital and there are no more adapters anymore. So for people who have a lot of 8mm tapes in their home, converting 8mm films to DVD is very important.
2. What is 16mm camcorder film?
16mm refers to the width of the film your camcorders produced, the same as 8mm films. Not like 8mm films as one of the most popular format of Sony camcorders, 16mm was also the most common film format in the past years. Another camcorder film frame size is 35mm for professional fields, while 8mm and 16mm is usually for family and personal. As the develop of technology, 16mm film has many variant such as Digital 16mm, Super 16mm, Standard 16mm, and more.
The difference between 8mm and 16mm is that the 16mm can contain more details when your are shooting videos. Also, the 16mm is more expensive than 8mm film tapes. So, after 8mm camcorder tapes came into the market, more people choose 8mm as their daily video recorder. Nowadays, for those who love making old films, 16mm is also their best choice.
Part 2. How to Convert 8mm Tapes to DVD on Windows/Mac
Here is an easier and faster way to transfer 8mm/16mm to DVD on Windows directly. Wondershare DVD Creator is the most recommended software to burn your 8mm/16mm films to DVD by yourself with simple steps. With this software, you can add 8mm files from camcorder to DVD directly on Windows version. For Mac users, transfer 8mm/16mm films to your Mac first, then take similar steps to convert 8mm/16mm to DVD. It supports most popular video formats such as MP4/AVI/MOV/MKV/WMV and burn videos from mobile and camera devices directly. Before burning 8mm films to DVD, you can make customization on videos and create DVD menu to make your DVD more attractive.

Wondershare DVD Creator
- · Convert 8mm and 16mm videos to DVD/Blu-ray Disc/ISO file/DVD folder with customized features.
- · Transfer 8mm and 16mm films to Data Disc with no quality loss and super fast converting speed.
- · Burn 8mm/16mm films to DVD and playback on TV with NTSC/PAL standard.
- · Edit 8mm/16mm films before burning to DVD with features of cropping, trimming, adding watermarks, editing subtitle, etc.
- · Customize 8mm/16mm film to DVD menu with 100+ free menu templates and customization on music, background picture, text, chapters, and more.
- · Toolbox with additional functions of ISO to DVD, Data Disc, Photo Slideshow, Video Editor, One-click to burn DVD/Blu-ray Disc, etc.
- · Supported OS: macOS 10.14 (Mojave), 10.13 (High Sierra), 10.12, 10.11, 10.10, 10.9, 10.8, 10.7, 10.6, Windows 10/8/7/XP/Vista.
Watch Video Tutorial to Learn How to Burn 8mm/16mm Films to DVD
Steps to convert 8mm camcorder videos to DVD on Windows (the same as 16mm):
Step 1 Install and Launch 8mm to DVD Burner
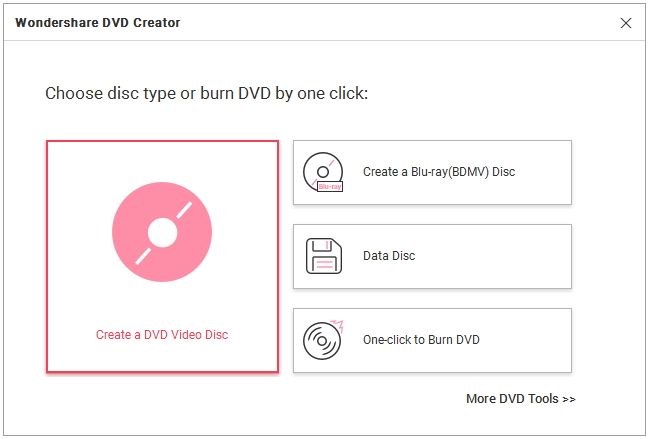
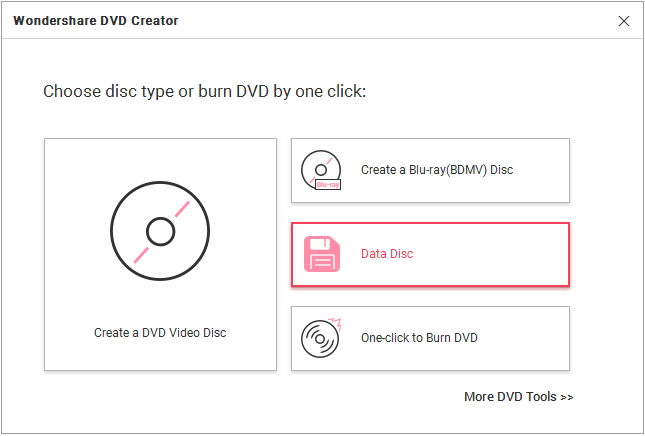
Download and install Wondershare 8mm DVD Burner on your PC/Mac first, then launch it and you can see the interface below, choose Create a DVD Video Disc option to start.
Step 2 Load 8mm Film to DVD
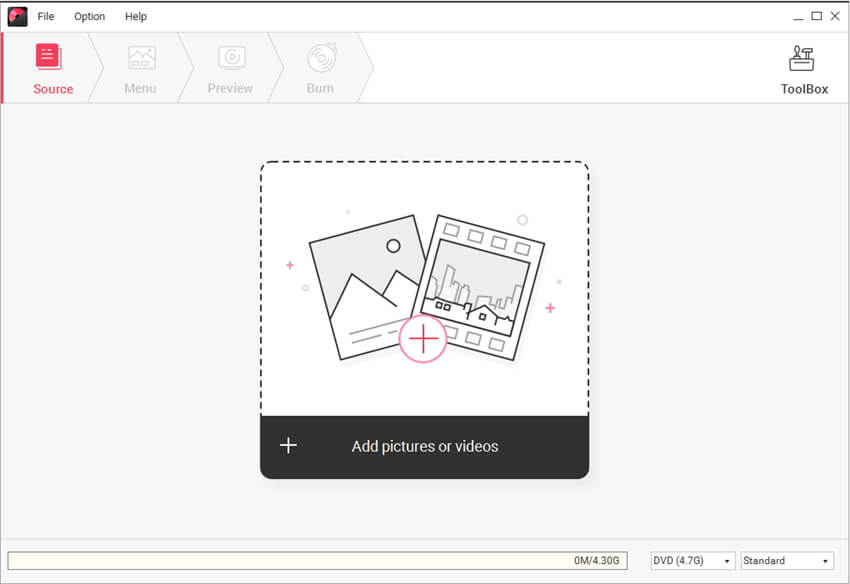
Connect your 8mm camcorder to your PC via a USB cable. Click the " + " icon on the interface to open the search window, and you can find your 8mm camcorder films in your computer disk. Choose videos to add or simply drag and drop 8 mm videos to the program.
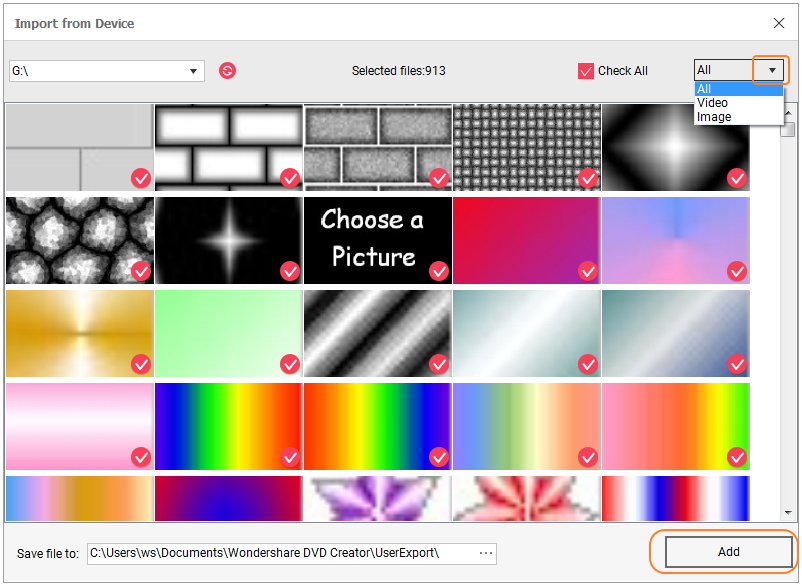
You can also import 8mm files by clicking the File >> Add from phone... button on the left-top corner, then a Import from Device window will open and all your videos in the device will be displayed as thumbnail. Select files and click Add button to import.
Step 3 Edit 8mm Film Before Burning to Disc
All added films will be displayed as thumbnail on the left panel. You are allowed to edit your 8mm film with the built-in editing tools. Click the pencil-like icon on the thumbnail to open the Video Editor window, from where you can rotate, trim, crop videos and add effects or watermarks to the 8mm film. Hit the OK button to save your changes on videos.

Step 4 Customize 8mm to DVD Menu Templates
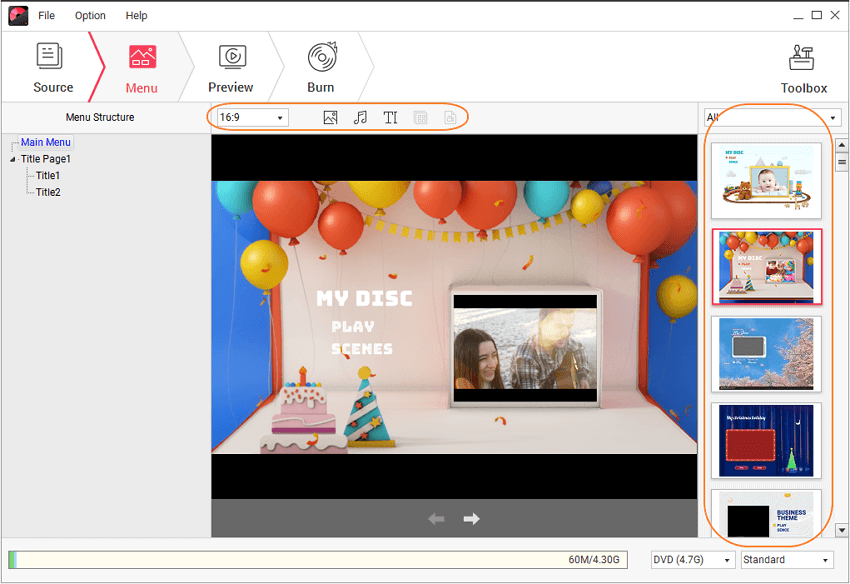
Click the Menu tab to choose a DVD menu template for your DVD. 100+ free menu template designs are provided on the right column. You can make further customization by hitting the icons upon the active window, where you can change background music or picture as you like, or add text and chapters on your 8mm DVD.
Step 5 Burn 8mm Videos to DVD
Move to the Preview tab to check all your creations. You are allowed to make changes if you're not satisfied with something. Then go to the Burn tab and choose Burn to disc option, selected Burning Settings such as Disc Label, Burner, TV Standard, and others, finally, click the Burn button to convert your 8mm films to DVD within a few minutes.
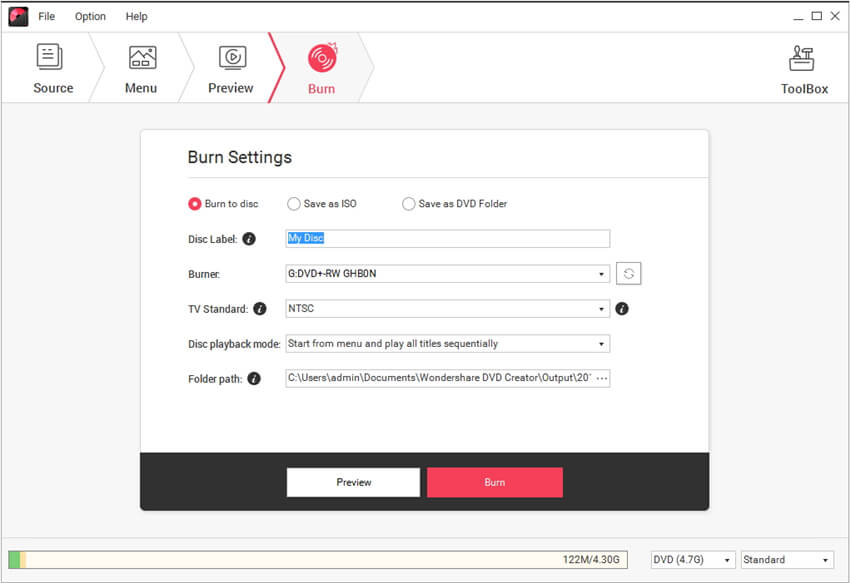

The left space of the disc is shown on the disc space bar at the bottom; You can select the size of burning DVD between "DVD-R4.5G" and "DVD-R9.0G"; The output quality is also up to your choice, you may select "Fit to disc", "Standard video quality" or "High video quality".
Part 3. How to Burn 8mm/16mm Film to Data Disc as Digital Backup
If you just want to copy your 8mm/16mm films to a DVD as a digital backup so that you can keep it more longer and convenient, burn a data disc with Wondershare DVD Creator is your best choice. It can help you to burn your 8mm/16mm files to DVD or Blu-ray disc with no quality loss and super fast burning speed. You can also add your 8mm/16mm films directly from a camcorder, and finish the burning process with simple steps. Then you can hold you 8mm/16mm film digital backup in DVDs without loss and damage.
Steps on how to transfer 8mm/16mm files to data disc as digital backup with Wondershare DVD Creator:
Step 1 Choose Burn Data Disc Option
Once you have download and install Wondershare DVD Creator to burn 8mm/16mm files to data disc, launch it and choose Data Disc option from the homepage.
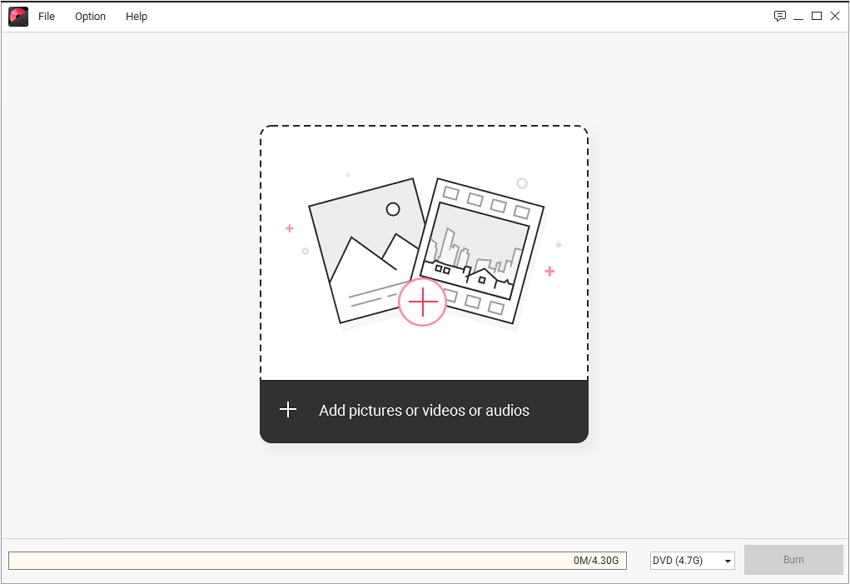
Step 2 Add 8mm/16mm Files to Burn
Then you'll come to a new interface to import your 8mm/16mm files, like burning a video DVD with Wondershare DVD Creator, just click the " + " icon on the interface to open the search window and add your films. You can also drag and drop your files to the program directly.
Step 3 Burn 8mm/16mm Files to Data Disc
All added films will be displayed as thumbnails on the interface, You can add or delete your added files by clicking the icons on the left-top corner. Then give a disc label and choose your burner, click the Burn button to burn your 8mm/16mm films to data disc without any quality loss.
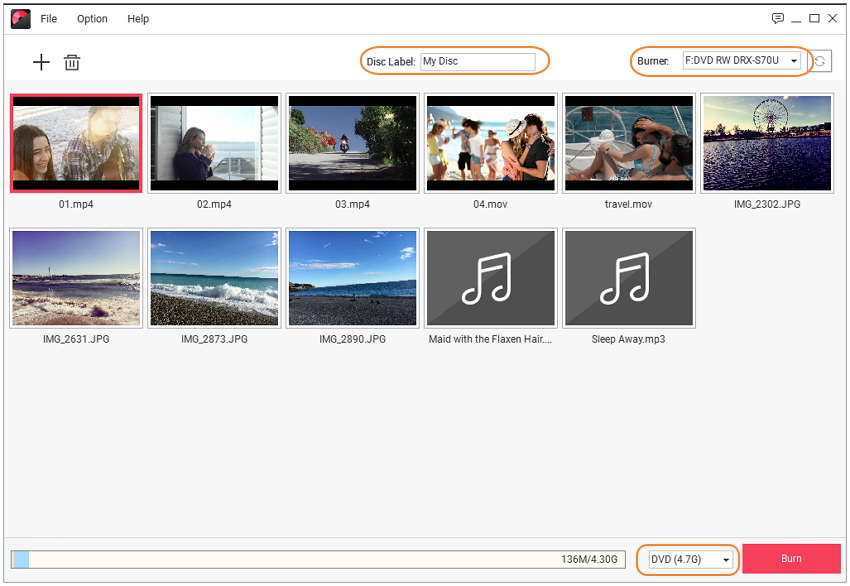
Your digital data disc will be burned at a super fast speed within a few minutes. Then you'll own a copy of your 8mm/16mm files and you can open it on your computer or other devices.
Part 4. How to Transfer 8mm/16mm Films to Computer
There are many ways to capture videos from 8mm/16mm camcorder tapes to computer, such as capture card or digital camcorder. The former requires extra hardware and a fast enough computer. But if you have a Digital8 camcorder or a digital camcorder with analog pass through or capture ability, you can use the camcorder to convert the analog signal on-the-fly which can be captured by a computer. Below are the general steps to convert analog signal to digital signal which could be captured with video capturing software either the one coming with your capture card, VirtualDub (Free) or your favorite software.
Step 1: Connect your 8mm/16mm tape source (camcorder or player), to your capture card on a computer or digital camcorder (already connected to the computer) using Firmware, USB cable, or S-video cable.
Step 2: Run the video capturing software on computer.
Step 3: Insert the 8mm/16mm tape into the 8mm/16mm tape camcorder or player, and find the spot in the tape where you want to begin the capturing process.
Step 4: Select either Options or Settings in the video-capturing software and make sure that the output format, which could also be labeled capture format, is MPEG-2 because it is best for burning to DVD.
Step 5: Select Capture on the video-capturing software and select Play on the 8mm tape camcorder or player. When it is finished, the footage from the 8mm tapes will be on the computer's hard drive.
Tips to capture 8mm/16mm tape video:
- Not all new digital camcorders necessary accept analog input (better to watch the lower-end models).
- Before capturing, fast-forward 8mm/16mm tape to the end of the tape and then rewind back to the beginning before playing. This will allow for smooth playback while capturing the video.
- If your source device has S-Video output, make sure you use that instead of composite (RCA) video output. S-Video delivers a better picture quality than composite video.
- Make sure you have enough space on your hard drive.
- Learn more about 8mm/16mm tape video capture.


Christine Smith
staff Editor
Comment(s)